Levitation
- Xiomara Andrade
- Mar 3, 2025
- 1 min read


Procedure
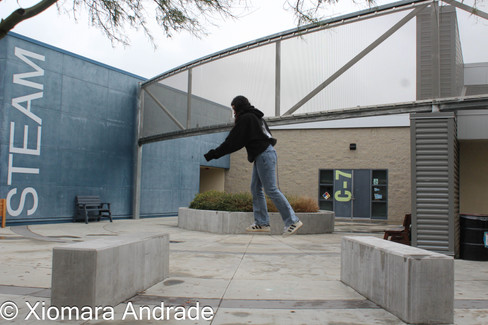
Consider: The process of taking these pictures started by finding a simple background. The simple background will help out for the future when your editing.
Set up where the model is going to sit to have a guide to where to put the tripod.
Once we had the background established we set our tripod to be leveled with our model. Changing the setting on the camera to insure in good lighting.
Setting Used: ISO 100-400, 20mm-25mm, f/3.5- f/8, 1/400 - 1/800 sec
When the settings are done we direct our model Julissa how to pose. Having other classmates to help out to hold an object or help out the model to feel more secure. Since some were done in height.
Take the picture when everything looks good. I took a picture of the model and another one of just the background. The camera should not move during taking the picture. It can cause unevenness when editing.
The pictures are taken I imported them into Lightroom and edited them.
Equipment
Camera
Tripod
Chair
Props
Books
Apple
Broom
Coke Soda
Computer
Overall
The pictures turned out really well. They were able to capture my imagination. The editing is smooth and clear to the eye.
Favorite Pictures


Next Time
In the future I would like to be more prepared and have a concept down to what I would to shoot. Three pictures show a good personality but the 4th is very blank and uninteresting. Changing up the background will also create new themes.


Comments